How to Add Customizable Coffee Mugs to Your Shopify Store
Set up personalized mugs on Shopify with text, photo uploads, 2D previews and paid options. Verify supplier templates and test the order-to-production handoff.
How to add customizable coffee mugs to Shopify
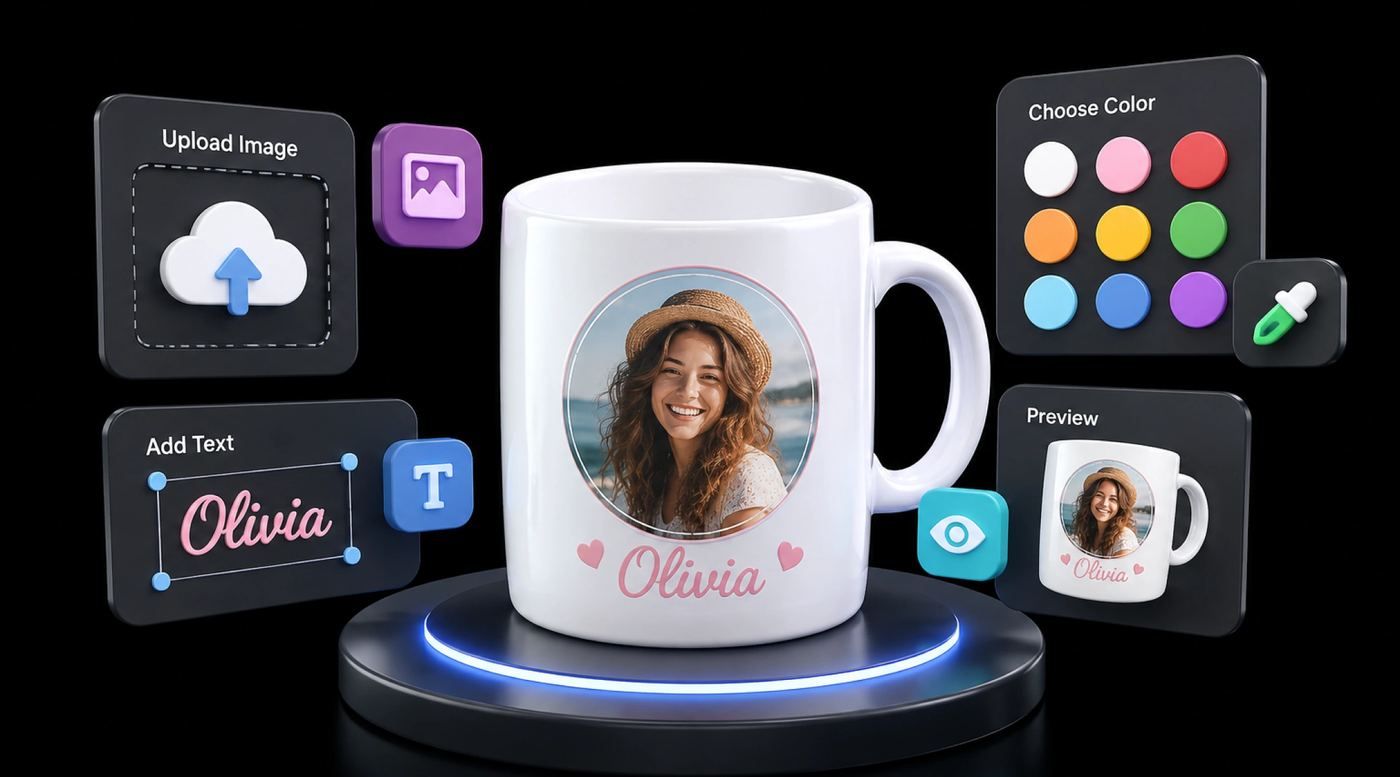
To sell a personalized mug, create a Shopify product for the blank mug, collect the customer's text or image, configure a preview, and test how the order reaches production. Keep the storefront preview separate from the supplier's print template: a curved mug mockup is not the flat artwork used to print the mug.
This guide covers a seven-step setup. The time required depends on your assets, theme, supplier and order-processing workflow; it is not a guaranteed 30-minute launch. Product-specific dimensions and care claims must come from the supplier of the exact mug you sell.
Before you start
- Choose a Shopify plan and theme that support the app and app-block placement you need. Verify compatibility before installation; Shopify Starter has a more limited storefront.
- Obtain the mug supplier's current product template, print area, bleed, safe area, file format and color-profile requirements.
- Prepare front and reverse-side photographs or mockups for each mug color you offer.
- Decide who reviews customer artwork and who submits the production file. Check any proposed automated integration for the exact supplier and product.
- Create the base Shopify product and the inventory-bearing size and color variants.
Step 1: Choose the personalization workflow
For a simple name or photo mug, evaluate text input, image upload, preview placement, character limits and optional charges. For automated POD, separately verify production-file generation and the supplier integration. Do not assume that installing a customizer connects it to Printful, Printify or Gelato.
Podifai provides layered 2D live preview and product options for Shopify. Use the live preview guide to plan the storefront, then test the actual order output against your production requirements. A 2D multi-view setup is not a cylindrical 3D renderer.
Step 2: Install and prepare one mug product
Install the chosen app through its official Shopify listing and review the permissions it requests. Assign the customization setup to one test mug product. Keep the product unavailable to shoppers until the order and fulfillment checks are complete.
If using a supplier integration, follow that supplier's supported connection instructions and confirm that the product and variant identifiers match. If using manual fulfillment, document where the original uploads, customer choices and approved production artwork will be stored.
Step 3: Configure the preview and production template separately
Use a blank-mug image as the preview background. Position text and image layers inside the supported visible area. Add another view when shoppers need to review the opposite side, and make clear which choices apply to each side.
For production, use the flat template for the exact mug. Handle clearance, print boundaries and safe areas vary by product. Do not reuse a generic 11-ounce template for a different supplier or assume a preview mask enforces production bleed automatically.
Step 4: Add text, fonts and image uploads
Give shoppers a small, readable font selection, a character limit suitable for the design, and clear upload instructions. Test long names, punctuation and the languages you expect customers to use. Check the crop and placement on both desktop and mobile.
Judge a raster image by its pixel dimensions at the intended print size. For example, a nine-inch-wide design at a supplier-requested 300 pixels per inch needs 2,700 pixels across. This is a calculation example, not a standard mug template. A file tagged 72 DPI is not necessarily unsuitable; changing the DPI tag does not add image detail.
Step 5: Configure variants and paid options
Use Shopify variants for stock-bearing choices such as mug size or body color. Use customization fields for names, messages and customer artwork. Where offered, configure paid options such as a second personalized side or gift packaging.
Check that the final cart total matches the selected options and that the order distinguishes the base variant from personalization. See dynamic pricing for supported option-pricing approaches.
Step 6: Add the customizer to the product template
Use your app's documented theme setup. Position the personalization controls near the purchase action and keep instructions readable on mobile. Preserve the variant selector unless the replacement flow has been tested to select the correct Shopify variant.
Check required fields, upload errors and the add-to-cart action. Tell shoppers whether the preview is a placement guide and whether a human will approve artwork before printing.
Step 7: Test an order through production
Place a Shopify test order with a name, uploaded photo and paid option. Check the correct mug variant, text, crop, uploaded file and total. Open the files available from the order rather than relying on the storefront preview.
Have the supplier confirm that the production artwork meets its template and file requirements. If fulfillment is automated, verify that the correct file and variant reach the supplier; if manual, complete the documented handoff. Produce and inspect a sample before accepting customer orders.
Choose the printing method for the actual blank
| Method | Appropriate use | What to verify |
|---|---|---|
| Dye sublimation | Photo and color artwork on compatible coated mugs | Supplier template, coating, color profile and care instructions |
| UV printing | Hard-surface products specifically supported by the supplier | Exact blank, ink process, printable area and care limits |
| Laser engraving | Engravable surfaces or coatings | Material, achievable contrast, approved artwork and engraving area |
Printful states that its mugs are made using dye sublimation. DTG means direct-to-garment printing and should not be used as the name for a mug-printing process. Other suppliers may offer different methods for particular blanks. See Printful's mug production explanation and its customization techniques.
Common setup mistakes
- Treating a preview image as a production file without checking dimensions, background and print boundaries.
- Stretching a small image over a large print area; check pixel dimensions at the final size.
- Showing the white mug preview after the shopper selects a different body color.
- Placing artwork too close to the handle or outside the supplier's safe area.
- Promising dishwasher or microwave safety without the exact product's care instructions.
- Assuming a customer upload automatically reaches a POD provider.
Gifting and bundles
A name, photo or message can support birthday, wedding or corporate-gift offers. Show clear examples and collect each recipient's personalization separately when selling a set. Offer a gift message or packaging option only if your fulfillment process can deliver it.
Test bundle pricing, production effort and completed purchases in your own store. This guide does not establish that mugs have the highest conversion rate or that bundles will increase profit.
Frequently asked questions
Can shoppers upload their own photos?
Yes, if the chosen customizer supports image uploads. Configure accepted formats and file limits using the app's actual settings. Confirm that the original image or required production file can be accessed after purchase.
What size should the print file be?
Use the exact mug supplier's template. Match pixel dimensions to the physical print area and requested resolution. There is no universal print area shared by every 11-ounce or 15-ounce mug.
How much does Podifai cost?
The Free plan supports three custom products, Starter supports 30 for $7.90/month, and Growth supports unlimited products for $15.90/month. See current pricing and verify the output needed for your production workflow.
Does live preview replace artwork approval?
No. A preview helps communicate personalization, but material, color and production placement still need validation. Decide which orders require a human check and explain that step before checkout.