Jacket Customization for Shopify Apparel Stores
Set up jacket personalization on Shopify with text, logo uploads, multiple views and paid options. Check decoration limits and test the production handoff.
How to set up jacket customization on Shopify
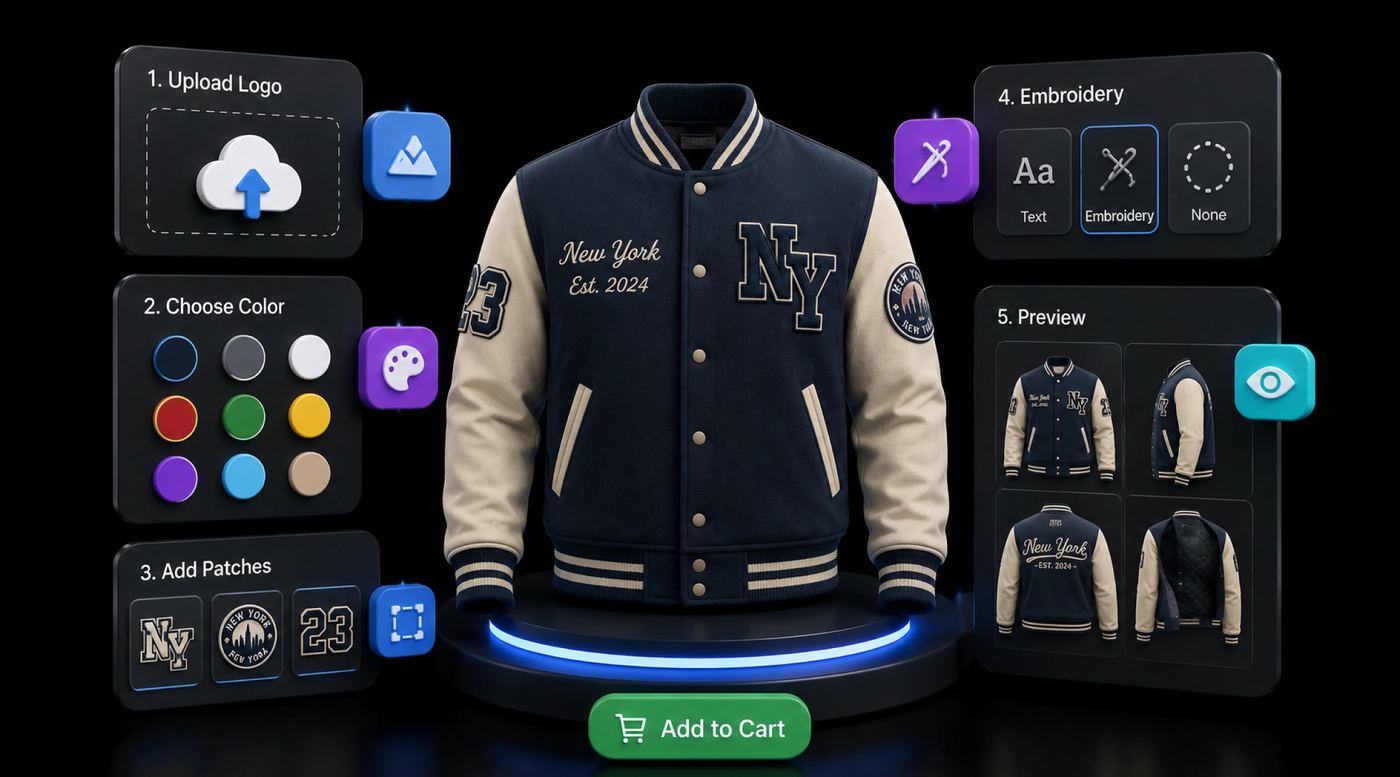
A jacket customization flow lets shoppers choose a jacket variant, enter text or upload artwork, select a decoration position and review their choices before checkout. Build the storefront around what your decorator can actually produce. A visual mockup does not establish that a design can be stitched or printed on a particular fabric.
Start with one jacket style and one supported decoration method. Configure the preview, test the Shopify order details, and have the decorator approve a physical sample before expanding to sleeves, multiple positions or additional materials.
Phase 1: Confirm the blank and decoration method
Ask the decorator to approve the exact jacket model, fabric, lining, seams and decoration position. Do not treat varsity, bomber, denim, fleece and padded jackets as interchangeable blanks. Press settings, hoop access, backing and usable area depend on the product and process.
| Jacket type | Questions for the decorator | Storefront setup |
|---|---|---|
| Varsity or letterman | Which lettering, applique or embroidery processes are supported? | Offer only the approved lettering styles and positions |
| Bomber or windbreaker | Is the shell suitable for the proposed heat transfer or embroidery? | Use the exact garment mockup and approved decoration area |
| Denim | Can the design be placed clear of seams, pockets and hardware? | Show the available panels and placement choices |
| Fleece | What backing and artwork preparation does the process require? | Set limits from the decorator's approved sample |
| Technical or padded outerwear | Will decoration affect the coating, insulation or construction? | Restrict customization to explicitly approved products and positions |
These are supplier-validation questions, not a universal compatibility chart. Do not promise a process based solely on the garment category. For an overview of production methods, see Printful's customization techniques.
Phase 2: Configure views and personalization fields
Prepare product images for the actual jacket: front, back and any sleeve you offer. In Podifai, multiple views use separate 2D backgrounds and supported text or image layers. They do not create a rotatable 3D garment or automatically check seams and manufacturing constraints.
Use clear labels such as “Left chest text” and “Back logo.” Set character limits, allowed fonts and placement rules to match the decorator's specifications. For embroidery, offer thread colors from the supplier's available palette and explain that screen colors are approximate.
Do not publish generic decoration dimensions as industry standards. Obtain the approved physical width and height for every position, jacket size and method. A preview area should communicate that approved placement; the production team must still verify the final design.
See multiple product views and live preview for the storefront capabilities.
Phase 3: Map variants, choices and charges
Keep inventory-bearing size and garment color in Shopify variants. Collect names, messages and artwork as customization inputs. Make every position identifiable in the order so the production team can match a file or text value to the front, back or sleeve.
Configure paid options from your decorator's quote: an additional position, a different decoration method or approved premium lettering. Avoid estimating stitch count from an uploaded image unless your workflow actually performs that calculation. A stitch-count price may require digitization and a reviewed quote.
Test the base variant, each surcharge and the combined total. Include orders with multiple quantities or different personalization on otherwise identical jackets. See dynamic pricing for supported option charges.
Phase 4: Define the production handoff
Separate three things: the shopper's preview, the original uploaded artwork, and the file the decorator uses for production. An embroidered effect in the preview is not an embroidery machine file. The decorator may need to digitize the design for the selected fabric, size and machine.
Agree on accepted artwork formats, dimensions, thread colors, proof approval and who performs digitization. For print, confirm the template, resolution, color profile and transparent-background requirements. File requirements come from the chosen supplier, not the app's preview appearance.
If using an automated integration, verify support for the exact supplier, product and output. Do not assume every customizer connects to every POD service. For manual production, document who downloads the artwork, approves it and sends it to the decorator.
Phase 5: Test before launch
- Customize the jacket on mobile and desktop, including a long name and an uploaded logo.
- Check that each view shows the intended position and correct garment color.
- Try an invalid or missing selection and confirm that the shopper receives a clear instruction.
- Place a test order and inspect variant, quantity, text, selected thread color, artwork reference and surcharges.
- Check artwork pixel dimensions at the final print size; a DPI metadata value alone does not establish quality.
- Complete the handoff with the decorator and confirm proof approval or digitization where required.
- Order a sample and inspect placement, material response, color and care requirements.
- Publish accurate lead times, artwork-review steps and defect-resolution information.
A successful storefront test is only one part of launch readiness. Keep human review in the workflow wherever production suitability cannot be validated automatically.
Offers to plan around
Team jackets may need a roster with a different name or number for each garment. Corporate orders may need logo approval and consistent thread colors. Creator merchandise may use the same artwork across sizes. Each offer needs a clear way to associate personalization with the correct garment and quantity.
Start with the workflow your team can reliably fulfill. This guide does not establish which segment has the highest conversion rate, largest order value or guaranteed margin.
Frequently asked questions
Which decoration dimensions should I use?
Use the decorator's approved dimensions for the exact jacket, size and position. Seams, pockets, linings and equipment access can change the usable area. Validate the preview against an approved sample.
Does the preview guarantee the production result?
No. A 2D preview communicates selected choices and approximate placement. It does not reproduce fabric movement, stitching, ink behavior or every screen-to-material color difference. Explain any human proof-approval step.
Can Podifai generate embroidery machine files?
An embroidery-style text preview is not a digitized stitch file. Arrange digitization and machine-file validation with the decorator. Confirm the actual files available from a test order before designing an automated workflow.
Which customizer should I choose?
For Shopify text, uploads, options and layered 2D preview, evaluate Podifai with one representative jacket. If you need automated fulfillment or native 3D, verify those requirements separately with the relevant provider. Kickflip's documented configurator uses image-based 2D preview; do not choose it on an assumption of native 3D rotation.
How should I price personalization?
Use the garment cost and the decorator's actual charges for method, position, setup and quantity. Keep price adjustments visible before checkout. Podifai's plans are listed on the pricing page.